SSO (SAML)
Keycloak (SAML)
Configure SAML single sign-on with Keycloak so your users can sign in to Leexi with their Keycloak credentials.
| Who is this for? | Required permissions and licenses |
|---|---|
| • Administrators who manage company authentication. | • Administrator rights on your Leexi and Keycloak accounts. • License required: depending on your plan, check availability in Settings > Integrations. |
How to use it
General settings of the SAML client
In your Keycloak admin console, go to the correct Realm, then click Clients > Create client.
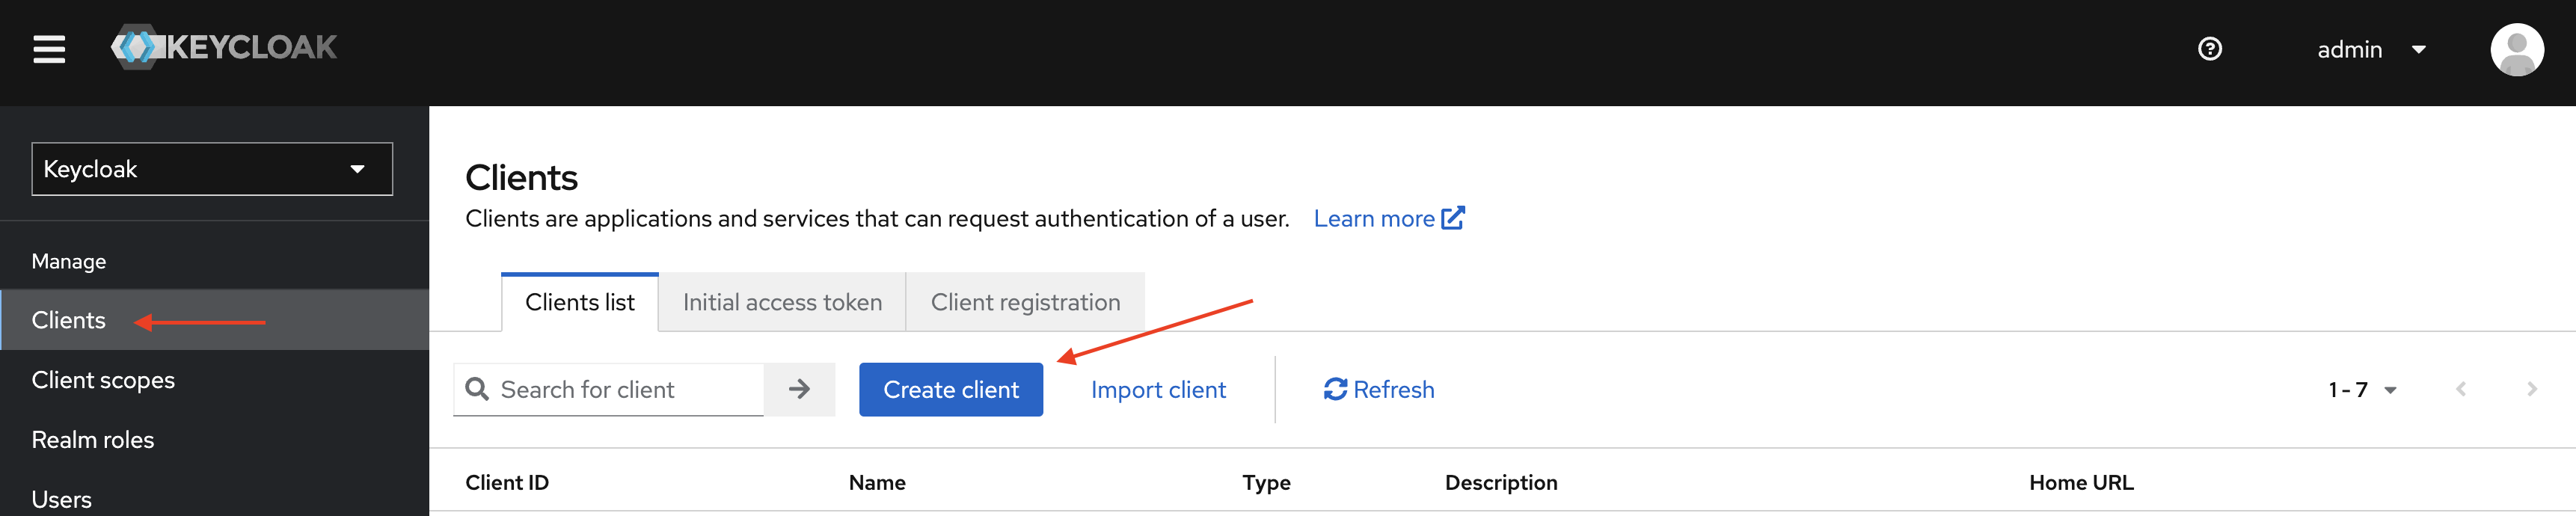
Fill in the general settings:
- Client type:
SAML - Client ID: Leexi's Entity ID (for example
https://app.leexi.ai/foo-bar-baz) - Name:
Leexi(or any name of your choice)
Login settings
Fill in the login settings as follows:
- Root URL:
https://app.leexi.ai - Home URL:
https://app.leexi.ai - Valid redirect URIs:
https://api.leexi.ai/users/sso/consume - IDP-Initiated SSO URL name:
Leexi - NameID format:
persistent - Force name ID format: ON
- Force POST binding: ON
- Include AuthnStatement: ON
- Sign documents: ON
- Sign assertions: ON
- Signature algorithm:
RSA_SHA256
Add users
In the Users section of your Keycloak Realm, add the users who need access to Leexi.
Download the XML and import it into Leexi
Retrieve your Keycloak client's XML metadata file and import it at https://app.leexi.ai/en/settings/security.
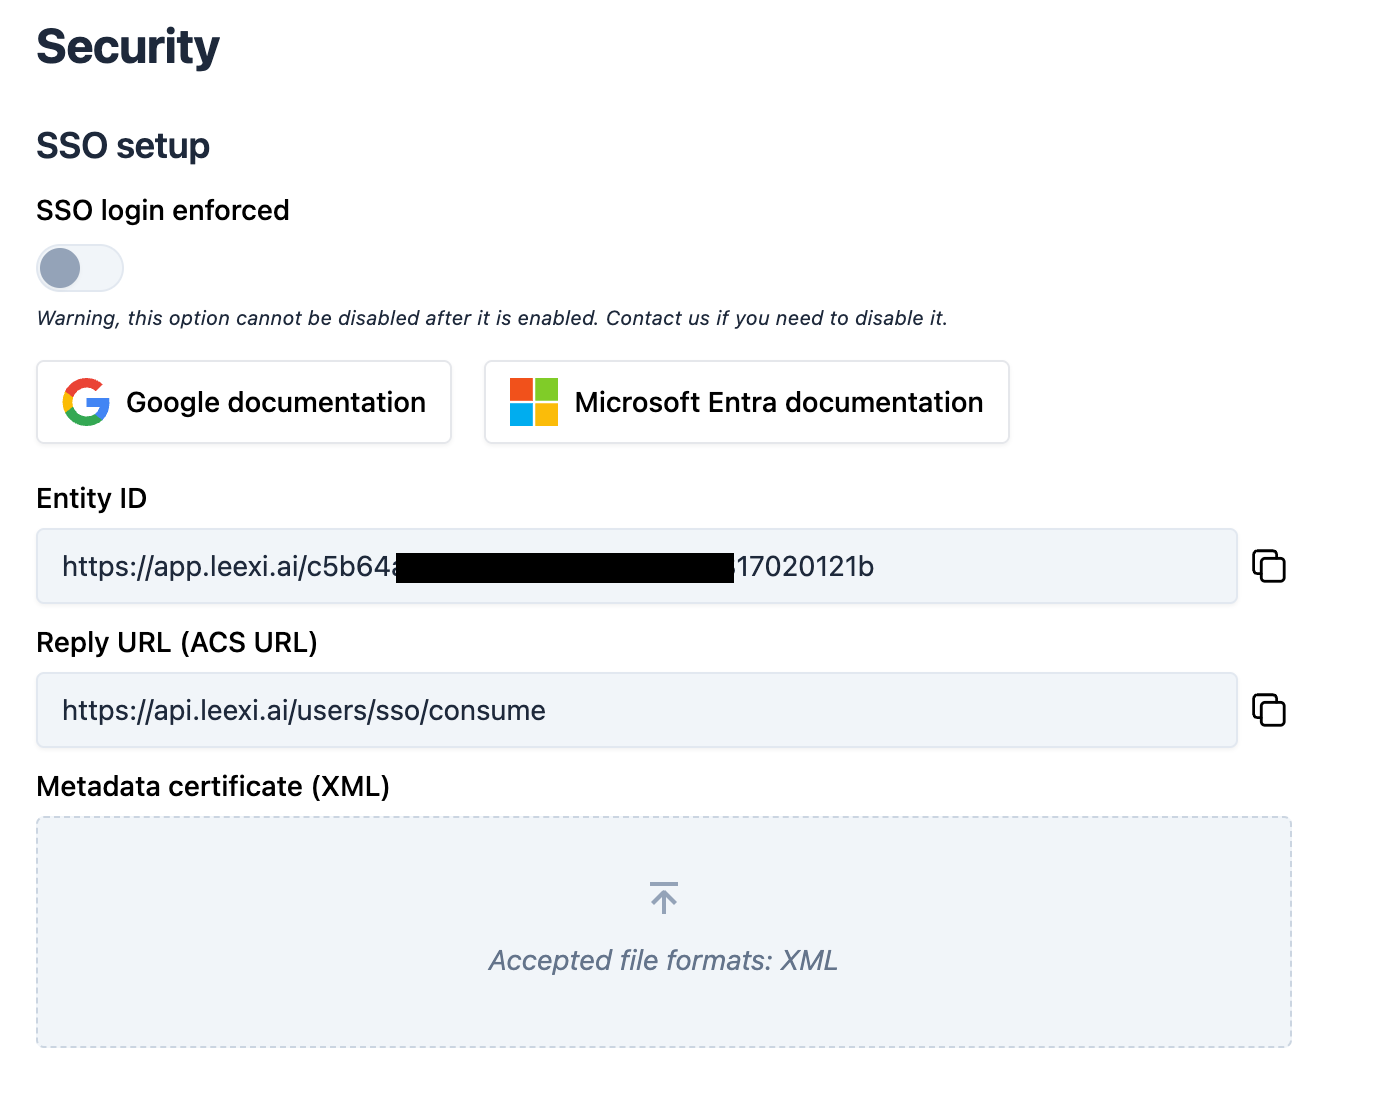
SSO is now configured for these users.
Going further
Enforce SSO login (optional)
After the steps above, users in your workspace can still sign in with email/password or already via SSO. Once all users have been onboarded and have successfully signed in via SSO, you can enforce SSO across your entire workspace. Only Leexi has the authority to disable this setting, to prevent any unwanted behavior.